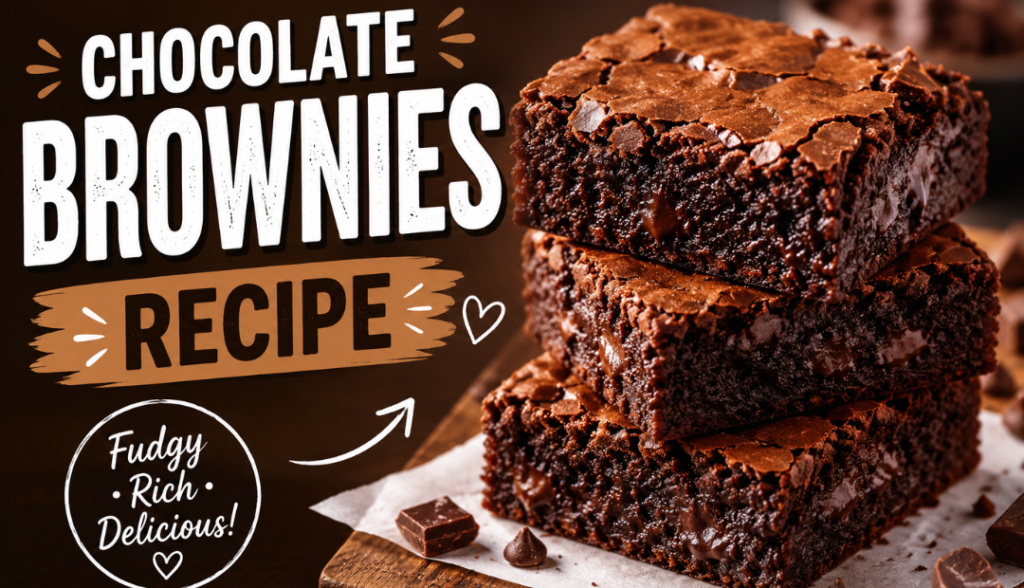
Some recipes are just non-negotiable. For me, chocolate brownies sit at the very top of that list. They were the first thing I ever learned to bake on my own—standing on a step stool in my grandmother’s kitchen, sneaking licks of melted chocolate from the spatula while she pretended not to notice. Decades later, I’ve tested more brownie recipes than I can count, chasing that perfect intersection of a shiny, crackly top, a deeply fudgy center, and chewy edges that snap just slightly when you pull the pan apart.
This is the one. The brownie recipe that ends the search. It’s rich but not cloying, intensely chocolatey without being bitter, and comes together in one bowl with basic pantry ingredients. No melted chocolate to fuss with—just good cocoa powder, butter, and a few smart techniques that guarantee success every single time. Whether you’re baking for a bake sale, a weeknight craving, or just because the world feels better with brownies in it, this recipe is about to become your forever go-to. Let’s preheat those ovens and make something irresistible.
Why You’ll Love This Chocolate Brownie Recipe
- Incredible texture – That paper-thin crackly crust gives way to a dense, fudgy middle with just the right amount of chew.
- One bowl, minimal cleanup – No stand mixer, no melted chocolate, no fuss.
- Pantry staples – Butter, sugar, eggs, flour, cocoa—that’s the foundation.
- Fast from start to finish – Under 15 minutes of active time, then the oven does the work.
- Endlessly customizable – Fold in nuts, swirl in caramel, add espresso, or keep them pure.
- Better than boxed mix – That deep, real chocolate flavor puts any packaged version to shame.
Ingredients
This recipe relies on the deep flavor of cocoa powder rather than melted chocolate, which not only simplifies things but also delivers a more intense chocolate punch. Quality matters here, so use the best cocoa you can find.
For the Brownies
- ½ cup (1 stick) unsalted butter, melted and slightly cooled
- 1 cup granulated sugar
- ½ cup packed light brown sugar – The molasses in brown sugar adds moisture and chewiness.
- 2 large eggs, at room temperature
- 1 teaspoon vanilla extract
- ¾ cup unsweetened cocoa powder – Dutch-processed gives a smooth, mellow flavor; natural cocoa yields a bolder, more acidic chocolate taste. Both work beautifully.
- ½ cup all-purpose flour
- ½ teaspoon salt – Don’t skip this; it amplifies the chocolate.
- ½ teaspoon baking powder (optional—use it if you like a tiny bit of lift; omit for denser, fudgier brownies)
Optional Mix-Ins (about 1 cup total)
- Semi-sweet or dark chocolate chips
- Chopped walnuts, pecans, or almonds
- Swirls of peanut butter, Nutella, or cream cheese
- A teaspoon of instant espresso powder dissolved in the melted butter (makes chocolate taste more chocolatey without tasting like coffee)
How to Make the Best Fudgy Brownies – Step by Step
This batter comes together fast, so go ahead and preheat your oven to 350°F (175°C) and line an 8-inch square metal baking pan with parchment paper, leaving overhang on two sides for easy lifting. A metal pan conducts heat best for even baking; glass pans can cause the edges to overbake before the center is done.
1. Mix the wet ingredients
In a large microwave-safe bowl, melt the butter until just liquid. Let it cool for a couple of minutes—you don’t want it so hot that it scrambles the eggs. Whisk in the granulated sugar and brown sugar until well combined. The mixture will look grainy; that’s fine. Add the eggs one at a time, whisking vigorously after each addition. You’re not just combining here, you’re dissolving some of the sugar and incorporating air, which helps create that signature crackly top. Stir in the vanilla extract. The batter should look thick, smooth, and glossy.
2. Add the dry ingredients
Sift the cocoa powder right into the bowl if it’s lumpy, then add the flour, salt, and baking powder (if using). Switch to a rubber spatula and fold gently until just combined. You’ll see a few streaks of flour, and that’s your cue to stop. Overmixing develops gluten, which can make the brownies cakey and tough instead of dense and fudgy. If you’re adding mix-ins like chocolate chips or nuts, fold them in now with a few gentle strokes.
3. Transfer to the pan
Scrape the thick batter into your prepared pan and spread it into an even layer with your spatula. The batter will be quite stiff—that’s exactly what you want. Smooth the top, getting it into the corners so it bakes evenly. If you’re feeling fancy, scatter a few extra chocolate chips or a sprinkle of flaky sea salt on top right now.
4. Bake to fudgy perfection
Slide the pan into the preheated oven and bake for 22–28 minutes. The timeline varies by oven and pan, so start checking at 22 minutes. The brownies are done when the edges are set and just pulling away from the sides, the top is glossy and crackled, and a toothpick inserted in the center comes out with moist crumbs clinging to it. Wet batter on the toothpick means they need more time; a completely clean toothpick means they’re overbaked (and will be more cakey). I usually pull mine at 25 minutes for maximum fudginess.
5. Cool completely (if you can wait)
This step is genuinely the hardest part. Let the brownies cool in the pan on a wire rack for at least 30 minutes before lifting them out by the parchment handles. For the cleanest, sharpest squares, chill them in the refrigerator for an hour after they’ve cooled to room temperature. I know it’s torture, but those cold, dense squares are a textural masterpiece. Use a sharp knife, wipe it between cuts, and slice into 9 generous squares or 16 smaller bites.
Pro Tips for Next-Level Brownies
- The shiny top secret. That crackly, tissue-thin crust you see on bakery brownies comes from dissolving the sugar fully into the butter and then beating the eggs in well. Don’t rush the whisking stage; give it a solid minute of vigorous work.
- Underbake just slightly. Brownies continue cooking from residual heat after they leave the oven. Pull them when they look slightly underdone in the center, and they’ll set up perfectly fudgy as they cool.
- Use a metal pan. Glass and ceramic retain heat differently, often leading to overbaked edges and a gooey center. A light-colored metal pan gives you the most control.
- Measure your flour correctly. Too much flour is the number one culprit for dry, cakey brownies. Spoon the flour into your measuring cup and level it with a knife—don’t scoop directly from the bag.
- The espresso trick. A teaspoon of instant espresso powder mixed into the melted butter doesn’t make the brownies taste like coffee; it just intensifies the chocolate flavor exponentially. Try it once and you’ll never go back.
- Salt is your friend. A generous pinch of flaky sea salt on top right after baking balances the sweetness and makes the chocolate taste even richer. Maldon salt is my favorite.
- Let them rest overnight. Brownies genuinely taste better the next day. The flavors meld, the texture firms up, and they become even more deeply chocolatey. Make them a day ahead if you can plan that far in advance.
Variations & Substitutions
- Ultimate fudgy brownies (no baking powder): Omit the baking powder entirely for brownies so dense and fudgy they’re almost like chocolate truffles. Reduce baking time by 1–2 minutes.
- Cakey brownie variation: If you prefer a lighter, cake-like texture, increase the flour to ¾ cup, add ½ teaspoon baking powder, and use an extra egg. Bake until a toothpick comes out clean.
- Gluten-free brownies: Replace the all-purpose flour with a 1:1 gluten-free baking blend. No other adjustments needed—these brownies are naturally flour-sparing.
- Dairy-free option: Use a good-quality plant-based butter or melted refined coconut oil. The coconut oil gives a subtle tropical note that works surprisingly well with chocolate.
- Double chocolate chunk: Fold in a full cup of semi-sweet chocolate chunks. They’ll melt into little pockets of molten chocolate throughout each brownie.
- Peanut butter swirl: Drop spoonfuls of creamy peanut butter over the batter in the pan and swirl with a knife before baking.
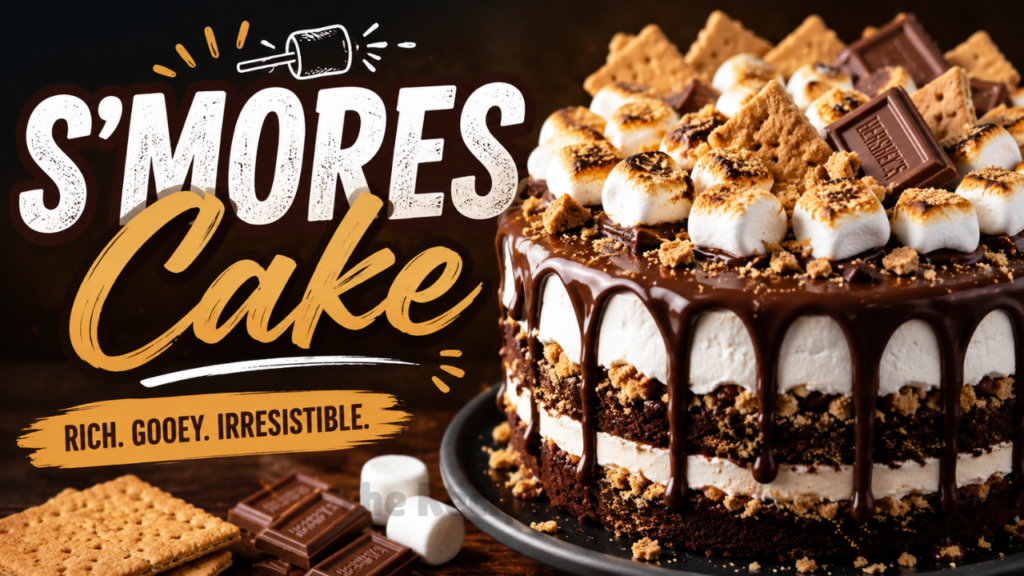
- S’mores brownies: Press a layer of graham cracker crumbs mixed with melted butter into the bottom of the pan, pour the brownie batter on top, and scatter mini marshmallows over the surface during the last 3 minutes of baking.
- Spiced Mexican brownies: Add 1 teaspoon of cinnamon and a pinch of cayenne pepper to the dry ingredients for a warm, subtly spicy kick.
Frequently Asked Questions
Why didn’t my brownies get a crackly top?
The crackly crust forms when sugar is well dissolved and eggs are beaten enough to create a meringue-like layer on top as the brownies bake. Make sure your butter isn’t too hot when you add the eggs, and whisk the sugar, butter, and eggs together vigorously for a full minute.
How do I store brownies?
Store completely cooled brownies in an airtight container at room temperature for up to 4 days. For a fudgier texture, store them in the refrigerator for up to a week—just let them sit at room temperature for 10 minutes before eating so they soften.
Can I freeze brownies?
Absolutely. Wrap cooled brownies individually in plastic wrap, then place in a freezer bag. They’ll keep for up to 3 months. Thaw at room temperature or microwave frozen brownies for 20–30 seconds for a warm, gooey treat.
Why are my brownies dry and crumbly?
Overbaking is the most likely culprit. Check them a few minutes before the recipe suggests. Also, make sure you’re measuring flour correctly—too much flour absorbs moisture and dries out the crumb.
Can I double the recipe?
Yes, double all ingredients and bake in a 9×13-inch pan. The baking time will increase to about 28–35 minutes, but start checking at 25 minutes and use the toothpick test as your guide.
What’s the best cocoa powder to use?
Dutch-processed cocoa (like Droste or Guittard) gives a deep, smooth, mellow chocolate flavor and a darker color. Natural cocoa (like Hershey’s) is bolder and slightly acidic. Both work beautifully here; it’s a matter of personal preference. I often use a blend.
Can I add frosting?
You certainly can, though these brownies are so rich and fudgy on their own that frosting can push them over the top. A simple dusting of powdered sugar or a drizzle of melted chocolate is a more restrained finish that still feels special.