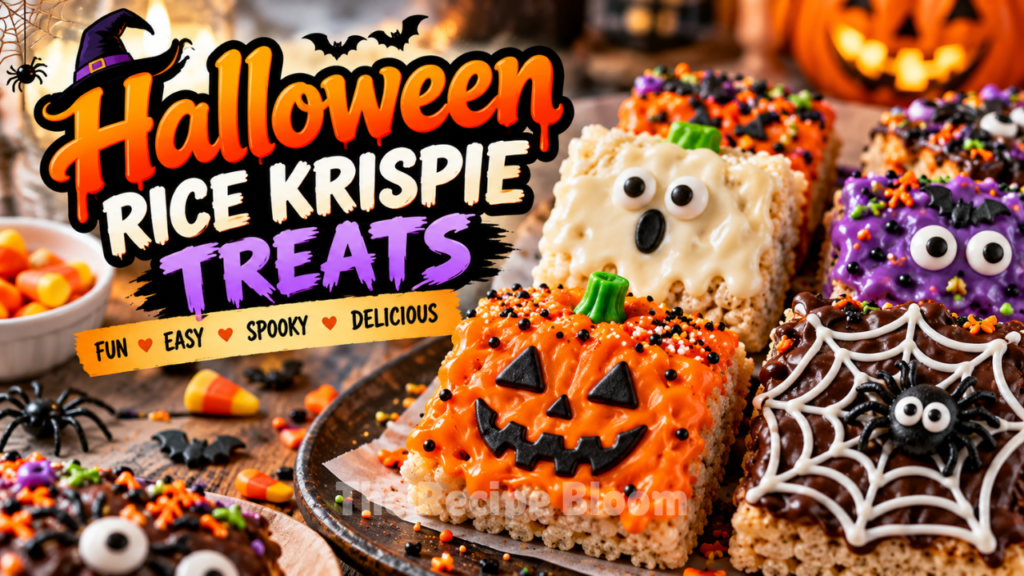
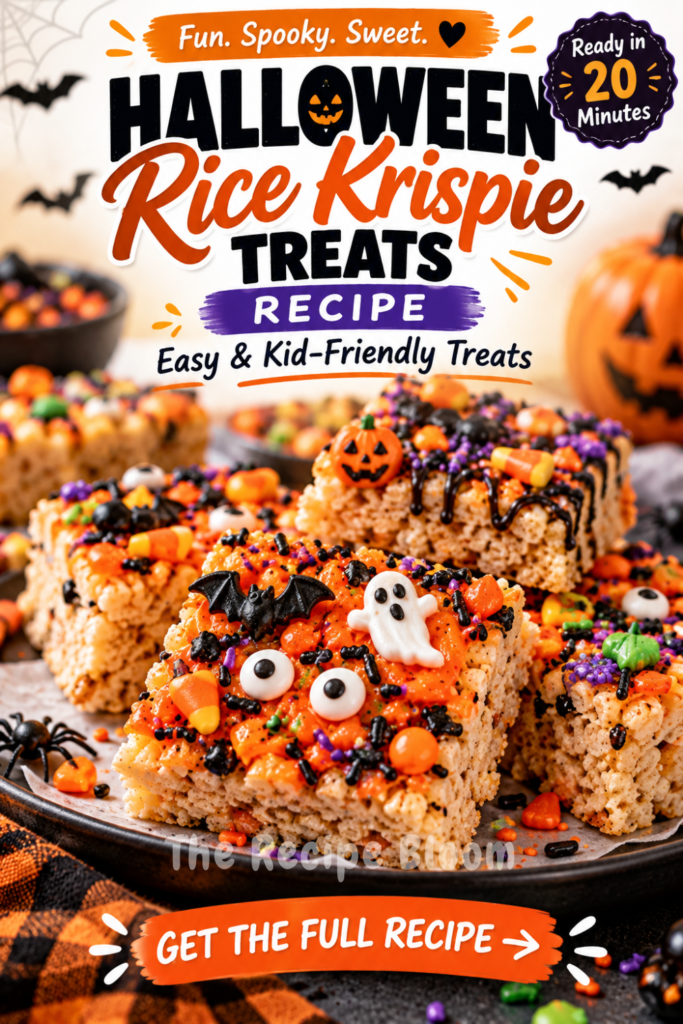
Looking for a fun Halloween dessert that is cute, colorful, and incredibly easy to make? These Halloween Rice Krispie Treats are the perfect addition to your spooky season celebrations! Made with crispy rice cereal, gooey melted marshmallows, butter, and festive Halloween decorations, these sweet treats are guaranteed to bring a little extra magic to your Halloween table.
What makes these treats so special is how easy they are to customize. You can turn a simple batch of marshmallow cereal treats into adorable pumpkins, spooky monsters, little ghosts, or Halloween-inspired squares decorated with chocolate and candy eyes. Whether you’re preparing treats for a Halloween party, a school celebration, or a cozy movie night at home, these colorful goodies are always a crowd-pleaser.
Best of all, you don’t need complicated baking techniques or fancy equipment. With a few pantry staples and some Halloween sprinkles, you’ll have a festive dessert that looks impressive without spending hours in the kitchen.
What Makes These Halloween Treats So Fun?
Halloween desserts don’t have to be complicated to look amazing. Rice Krispie Treats are a classic no-bake favorite, and a few seasonal decorations can transform them into something perfect for October celebrations.
Here’s why you’ll love making them:
- No oven required: Prepare these treats on the stovetop without baking.
- Quick and simple: The recipe uses basic ingredients and straightforward steps.
- Perfect for decorating: Add candy eyes, sprinkles, chocolate drizzle, or colorful icing.
- Great for parties: Cut them into squares or use Halloween-shaped cookie cutters.
- Easy to customize: Create pumpkins, monsters, ghosts, or traditional Halloween treats.
- Kid-friendly activity: Let children help decorate once the treats have cooled enough to handle safely.
Ingredients for Halloween Rice Krispie Treats
You only need a handful of ingredients to create these festive Halloween snacks.
- 6 cups crispy rice cereal: Provides the signature light, crunchy texture.
- 10 ounces mini marshmallows: Creates the sweet, gooey mixture that holds everything together.
- 4 tablespoons unsalted butter: Adds richness and helps melt the marshmallows smoothly.
- 1 teaspoon vanilla extract: Gives the treats a delicious, classic flavor.
- Gel food coloring: Use orange, purple, green, or your favorite Halloween colors.
- Halloween sprinkles: Add seasonal colors and a festive finishing touch.
- Candy eyeballs: Perfect for making silly monsters and spooky characters.
- Melted chocolate or candy melts: Optional for drizzling, dipping, and decorating.
A quick ingredient tip: Gel food coloring is usually a better choice than liquid coloring because it adds vibrant color without introducing as much extra moisture into the marshmallow mixture.
How to Make Halloween Rice Krispie Treats
Follow these simple steps to make a batch of colorful, crispy, and delightfully gooey Halloween treats.
- Step 1: Prepare Your Pan
Lightly grease a 9-by-13-inch baking pan with butter or nonstick cooking spray. You can also line it with parchment paper, leaving a little overhang on the sides to make removing the treats easier. - Step 2: Melt the Butter
Place a large saucepan over low heat and add the butter. Let it melt gently, stirring occasionally so it doesn’t brown or burn. - Step 3: Add the Marshmallows
Add the mini marshmallows to the melted butter. Stir continuously over low heat until the marshmallows become smooth and completely melted. - Step 4: Add Vanilla and Halloween Colors
Remove the saucepan from the heat and stir in the vanilla extract. If you want colorful treats, mix in a small amount of gel food coloring until you achieve your desired shade.
For multiple colors, divide the melted marshmallow mixture into separate bowls and color each portion individually. Work quickly because the mixture begins to set as it cools. - Step 5: Fold in the Cereal
Add the crispy rice cereal to the marshmallow mixture. Gently stir with a greased spatula until the cereal is evenly coated. Avoid crushing the cereal, as keeping it intact helps create a light, crispy texture. - Step 6: Press the Mixture Into the Pan
Transfer the mixture to your prepared pan. Using a lightly greased spatula or clean, buttered hands, gently press it into an even layer.
Don’t pack the mixture too firmly. Pressing too hard can make the finished treats dense and difficult to bite. - Step 7: Add the Halloween Decorations
While the mixture is still slightly warm, add Halloween sprinkles if desired. For decorations that need a firm surface, allow the treats to cool before adding melted chocolate, candy eyes, or icing. - Step 8: Cool, Cut, and Serve
Let the treats cool at room temperature until firm enough to cut. Remove them from the pan and slice them into squares or rectangles. For extra Halloween flair, use cookie cutters to create festive shapes.
Arrange your finished treats on a serving platter, and they’re ready for your Halloween party!